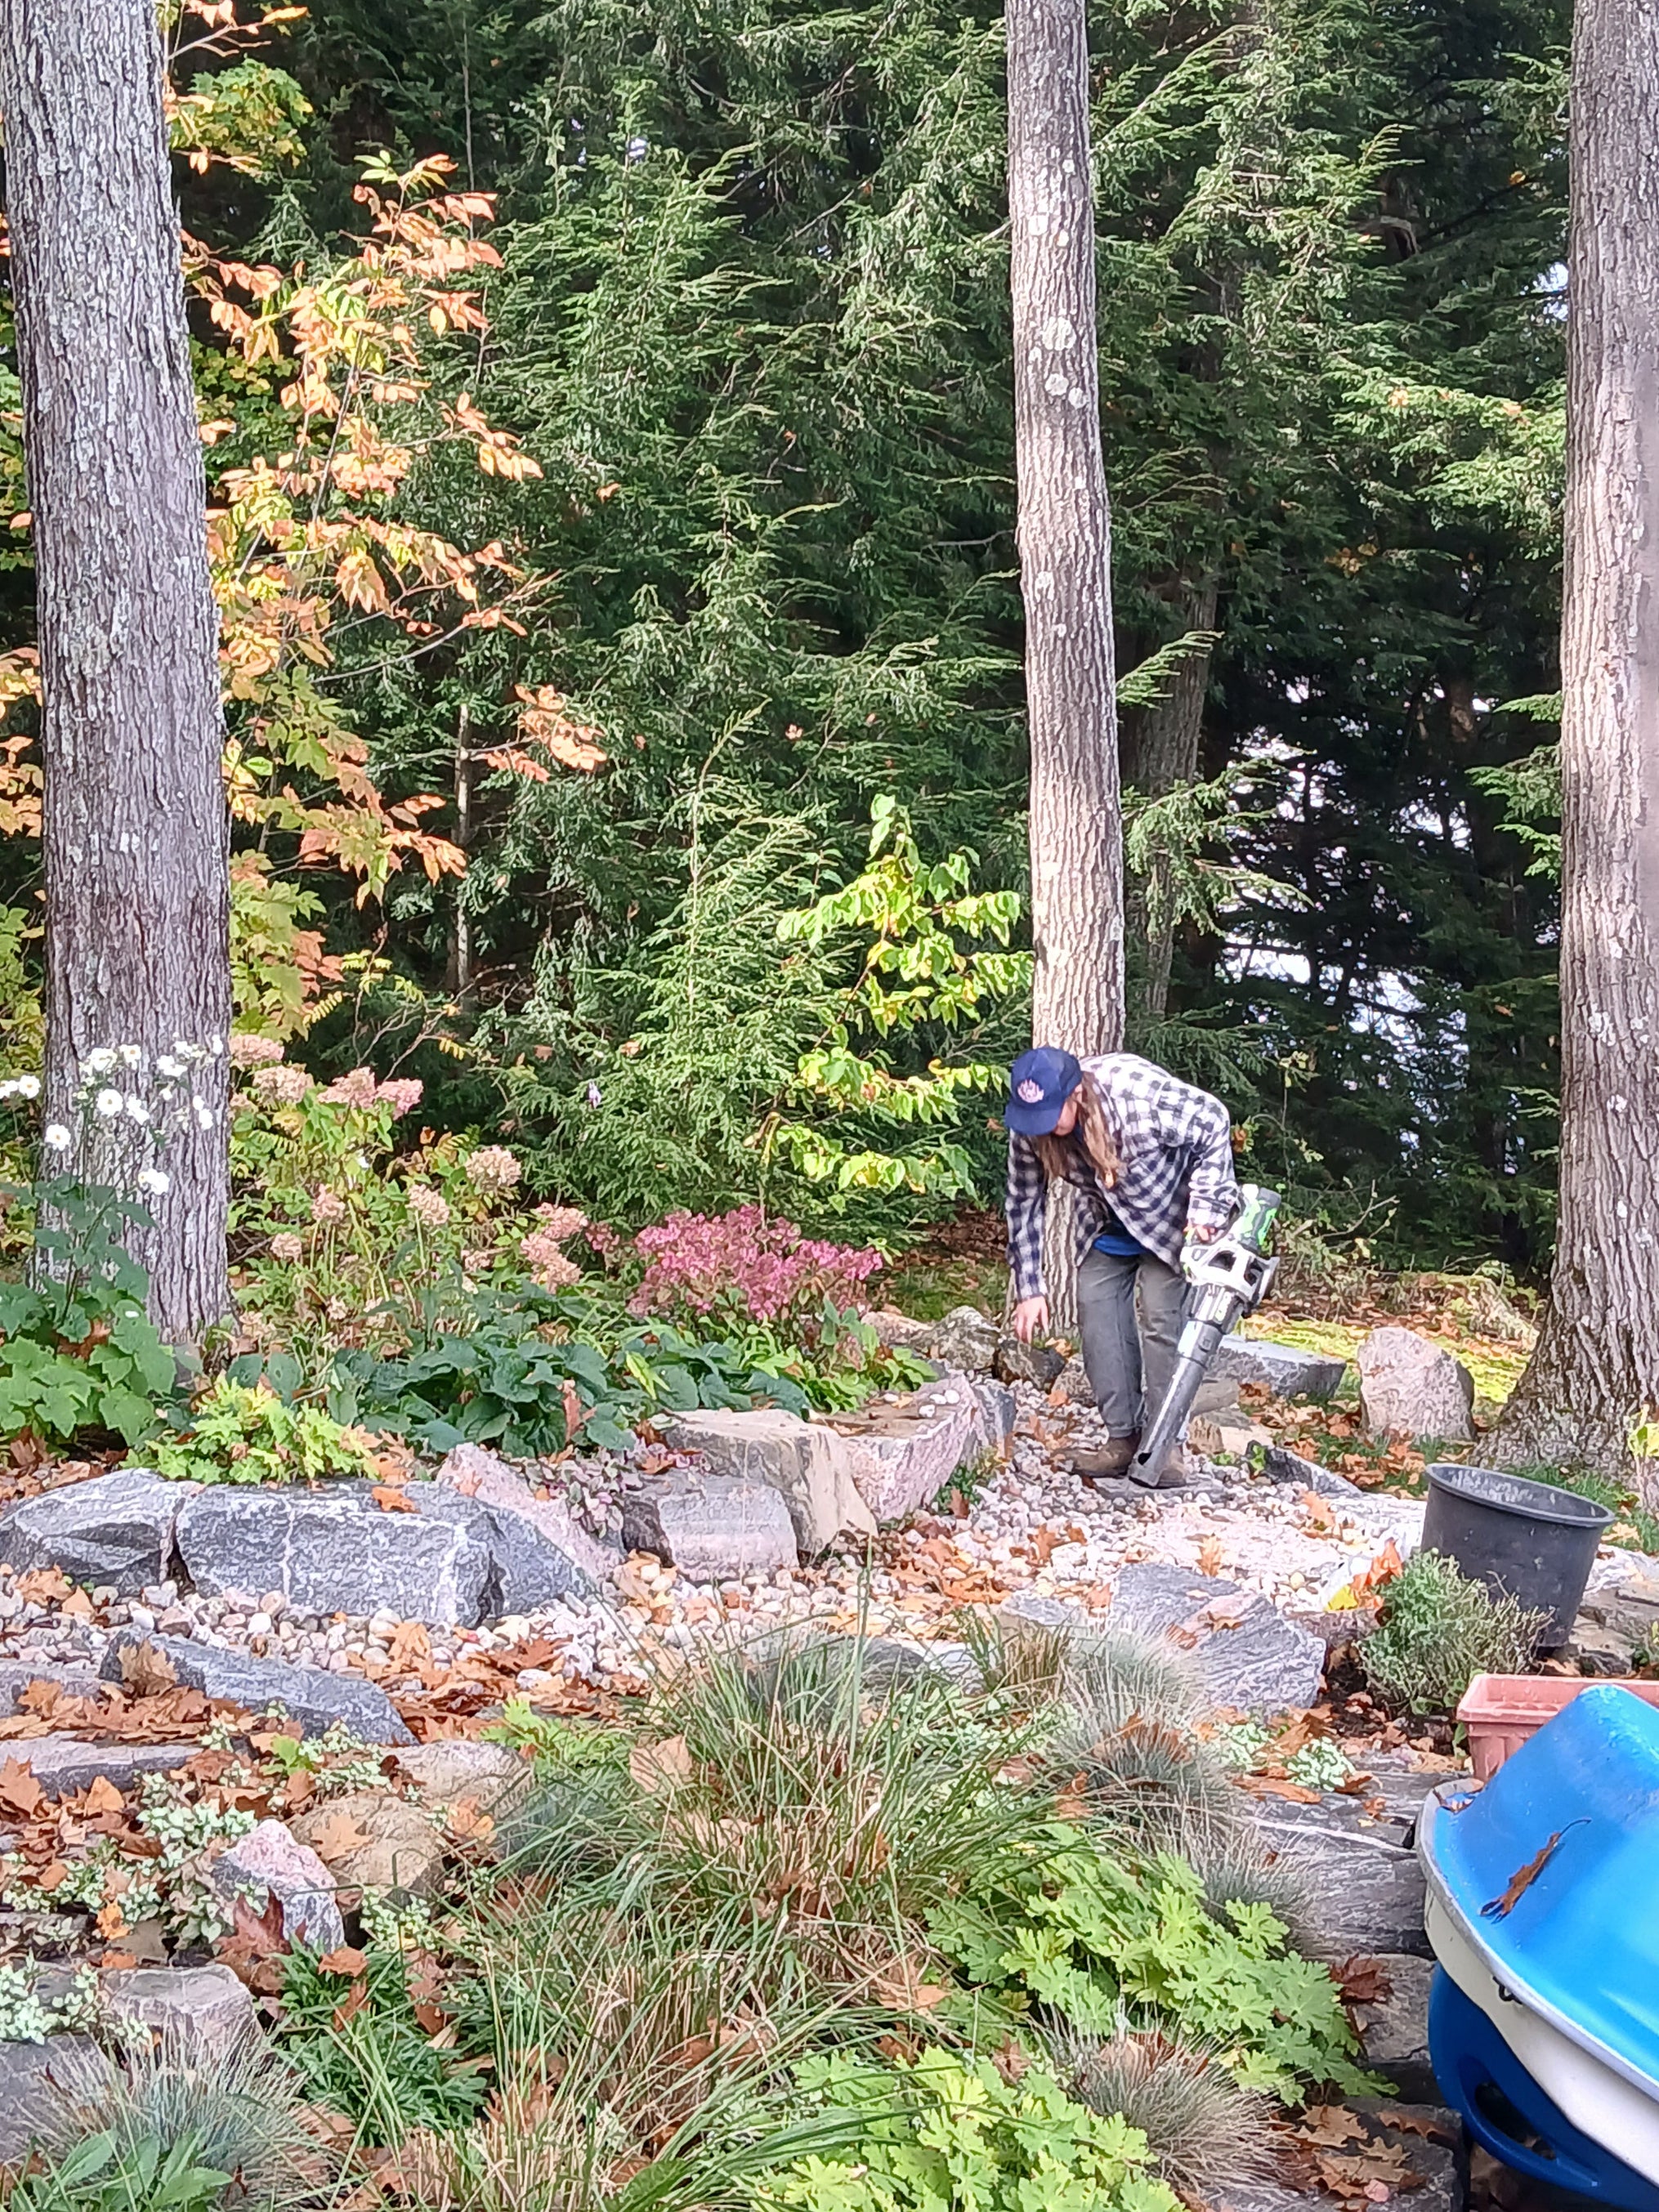
Our Approach is to spend quality time in your yard to get to know all the ins and out and nooks and Crannies. Observe, Listen, set a course to tidy and nurture the Garden
Growing Instructions-Microgreens
Benefits of Microgreens
Microgreens are the small seedlings of edible plants that are harvested before they reach maturity. They are commonly used to add colour, flavour and texture to meals.
So why grow them? Microgreens are much more nutrient dense then the fully grown plant, packed with high amounts of vitamins and antioxidants. Also microgreens only take 7-14 days until you are able to harvest and enjoy them. With a little planning you could have a constant supply of food growing right in your own home year round.
There are a few methods for growing microgreens, and other then a few exceptions, it comes down to personal preference.

How to grow Microgreens
1. Select a container to grow your microgreens in, any container that is at least 1.5-2 inches deep. Seed trays will work, but so will a recycled plastic lettuce container from the grocery store and repurposed tupperware type containers.
2. Select your growing medium. There are many options;
-Soil: you can use any organic potting soil for growing microgreens. Soil is the most common substrate used for microgreens, it is cheap and readily available. One downside to soil is that it can be messy, and often transfers onto your microgreens when it comes times to harvest.
-Coconut Coir: This is the inedible part of the coconut that has been processed into a soil like material. Coconut Coir can hold upto 10x its weight in water, so your microgreens will never be dehydrated.
-Burlap: Burlap is an inexpensive material made from the jute plant. Well it is a cheap and cheerful option, many people claim it is challenging to grow microgreens on.
-Grow Mats: These are mats made of either coir, hemp, bamboo, wool and other natural materials. These mats make growing microgreens very easy, because you can cut them up and place them in your desired container.
3. Plant your seeds; Scatter your microgreen seeds evenly over your growing substrate. Many growers recommend using an old spice or cheese shaker container with holes on top to evenly spread out your seeds. Growing mats are simply pre soaked before placing into your growing containers and then seeds are evenly spread out on top.
4. Growing: After seeds are planted, they need a period of time in the dark to start germination, called 'black out' time. Typically 3 days is enough to get the majority of your seeds to germinate. After this blackout period, seedlings are ready for some light.
5. Microgreens really benefit from being placed under grow lights, but are not necessary for growth. Simply placing your trays in a bright window will do the trick. Monitor your microgreens daily, watering them with a mist spray bottle as needed. Keep trays moist but not sopping wet to avoid the growth of mold.
6. Harvest: Microgreens can take anywhere from 10-15 days to reach maturity, depending on seed type. When your microgreens have grown a few inches, become green, and developed a few small leaves you're ready to harvest. Simply use a clean pair of scissors and cut above the substrate to harvest.

MUCILAGINOUS SEEDS
One special category of microgreen/sprouting seeds we need to mention is mucilaginous seeds. These are seeds that form a gel when they come in contact with water. Mucilaginous seeds include arugula, chia, flax, some mustard, basil, cress, mizuna and some radish seeds. Because of the gel that forms around these seeds, they cannot be sprouted using the mason jar method, and can be difficult to grow on soil. The best mediums for these seeds are grow mats, terra cotta sprouters, organic cotton, organic coffee filters and even paper towels. However, if you really just want to sprout seeds in your mason jar, you can add a small amount of these types of seed into your sprouting jar after the main soaking process is complete.
