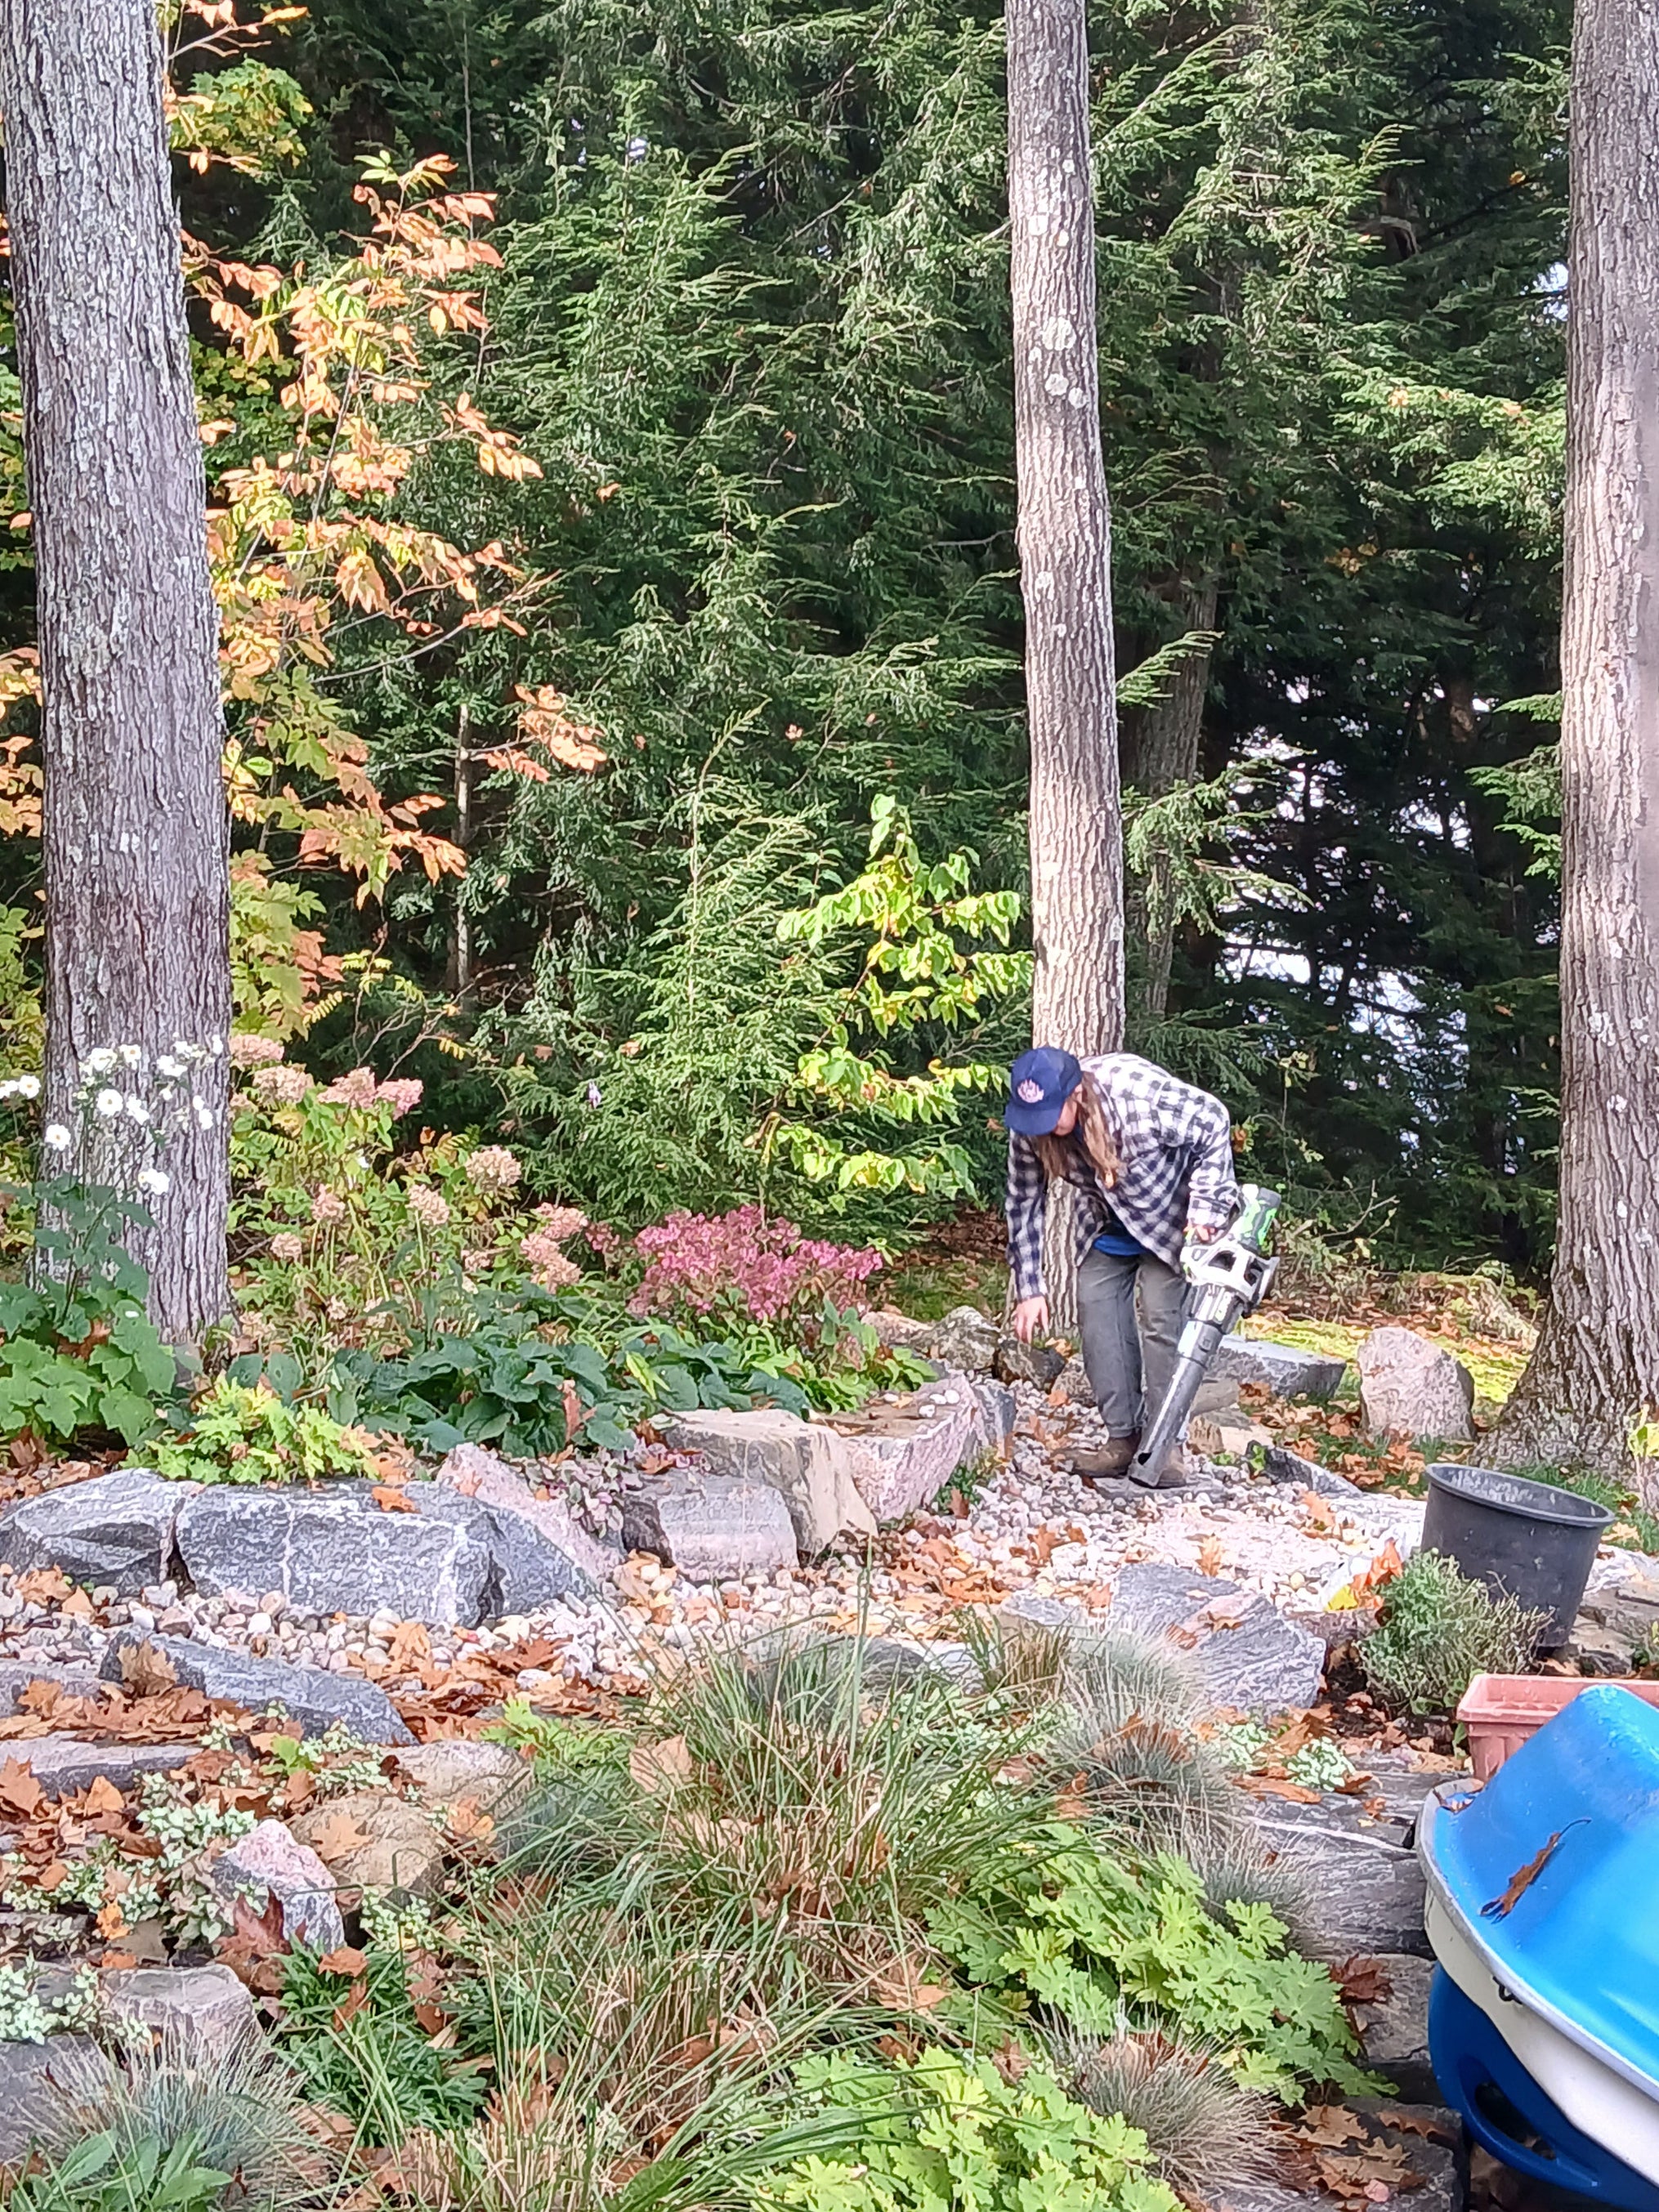
Our Approach is to spend quality time in your yard to get to know all the ins and out and nooks and Crannies. Observe, Listen, set a course to tidy and nurture the Garden
Growing Garlic Bulbils - Benefits and Instructions
Benefits of Growing Garlic Bulbils
-
Medicinal - Ancient civilizations used garlic to treat asthma, digestive disorders, heart disease, infections, respiratory disorders, tumors, and even intestinal worms. Today, claims for the health benefits of garlic include lower blood pressure and cholesterol, an anti-inflammatory effect, a reduced risk of cancer, and a stronger immune system.
- Nutritional Profile -Garlic cloves contain potassium, iron, calcium, magnesium, manganese, zinc, and selenium.
-
Use in: Canning, pickled, soups, stews, eat raw, roasted...and endless list!!!

Growing Instructions
Culture:
Garlic Bulbils can be planted in the fall, the same time you plant regular clove garlic. We suggest planting them in containers for their first year because the little green sprout that they produce looks very similar to grass. Deep containers are best to produce good deep roots.
Dig a hole into the ground that you are able to place container in, making sure the rim of the container is above ground level. It is recommended to mulch the bulbils to prevent excessive freezing and thawing. In the spring remove mulch to allow the green sprouts to grow. You can then harvest this garlic July-August and will be left with what is known as a "round". Typically these rounds are harvested with the green plant attached and left to cure until fall rolls around. The green plant portion is trimmed down as well as the roots, and again planted back into your garden at 1/2-1" deep and 6" apart. By the second harvest season your garlic bulbils should have produced small heads of garlic with individual cloves. These heads can be eaten and used like regular garlic or be used to plant another garlic crop. If planting, cure the garlic plants like the first season, but break apart the individual cloves and plant in the fall. By the third season you should have hardy heads of garlic, which can be stored or used to increase your garlic yields!
Spacing: Plant 9 garlic plants per square foot of growing space using Square Foot Gardening Method. Plant at least 10 bulbils in each container at 1 inch deep and 1-2 inches apart.
Sow seeds: Sow and cover seed with 1⁄2 inches of soil; keep moist.
Storage/Preparation:
The best way to store garlic is on a countertop or inside of a cupboard/pantry – out of direct sun, with lots of air – in a mesh bag is great, but plastic doesn’t let it breathe. If you have large amounts of garlic, it is best to store it in a cool, dark place, such as a basement (as long as it’s not damp) or a pantry. Do not store in plastic, as garlic needs to breathe, but rather in a bowl or hanging in a mesh bag (such as an onion bag).
Companions:
All fruit trees, tomatoes, eggplant, peppers, brassicas, dill, carrots, beets, spinach.
